
This project started off with an object. I chose a international to New Zealand adapter plug as I was not too familiar with Rhino and wanted to build an object that would force me to learn more tools on the software as well as being simple enough to keep at least a single strand of hair on my head when finished.

The first part of the project was sketching down the dimensions of it. I planned to build it form by form and then layer it up like a cake so one of the first steps was creating the octagonal prism. Like with prior projects, using a different layer and color I drew an extremely fine grid which ensured that the object lines were perfectly intersected and measurements were specific rather than just doing it free hand.
Next was the middle part where I had to create two diameters of cylinder and then create a sloped cone like shape connecting the two faces.

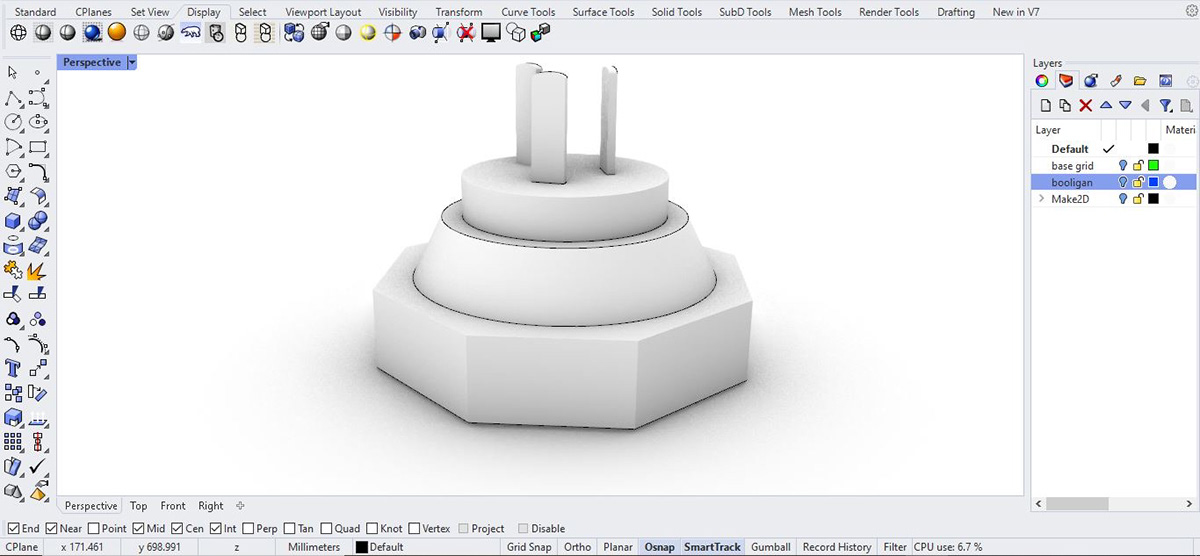
The hardest part of the project was the output plugs as although each one is uniform in shape and size, two are angled with and angle I can only describe as something I did NOT learn in maths when special triangles was being taught.

I finally replicated this after countless hours spent browsing the comedy section on Netflix to try lift me out of this hole of depression and a few hundred dollars at my local therapist. What I ended up doing was finding the center points where the metal bits stick out, drew a guideline as a border for the top and bottom, copied the bottom center part, copied and pasted it onto the center point and rotate until the ends of the piece sat directly on the border grid lines. For those wanting a better explanation as I can sympathize with how bad I just explained that please feel to let me know if I am by any chance still alive after this traumatic experience.


With the bottom all complete I had to create the top face where you insert the foreign plug. First I extruded another circle to create the round face area and drew up the holes for the plug. I then subtracted them from the original form. Note that the measurements are accurate for dimensions and diameters of the holes. I was surprised as to how I managed to create that round spherical shape for the red light bulb but I did. Somehow.


And voila, I have created a perfect scale to scale model of the plug. I reckon that if you 3D print it out, paint the metal bits metal color and light bulb red, give it to a dog, I am confident it would not be able to tell a difference if it was standing 300m away from it. Although there were many difficulties, I think my biggest savior were the almighty grids I drew to ensure consistency and accuracy.

Overall I was satisfied with the amount I picked up from this project. The tools I am able to use on Rhino has multiplied by a factor of 700% which has greatly increased my confidence to be able to produce more things using 3D modeling software.
